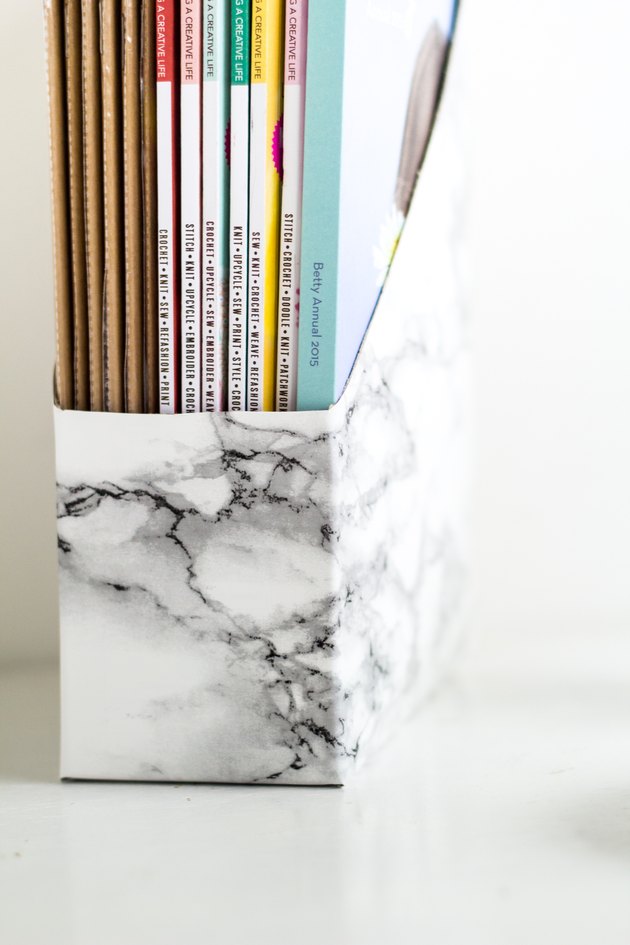
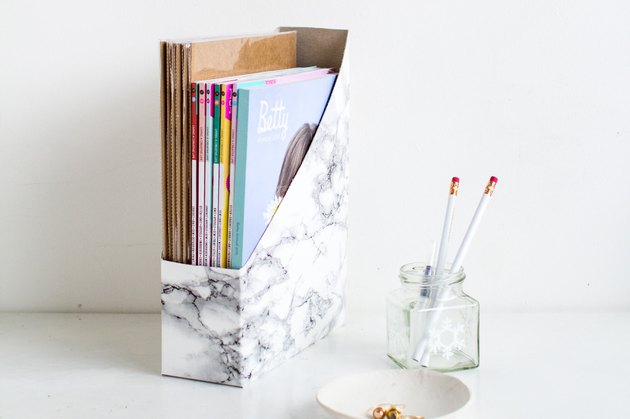
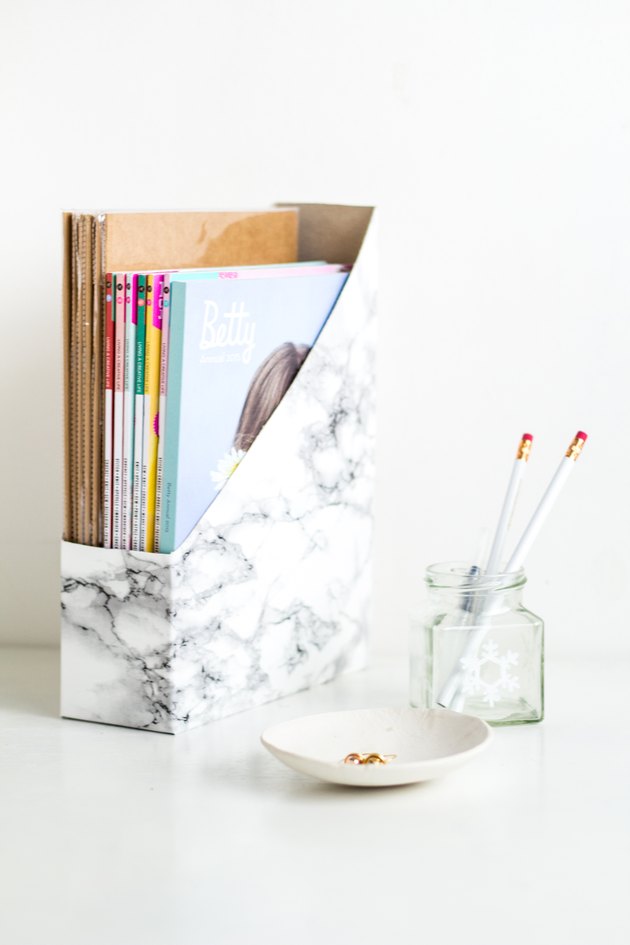
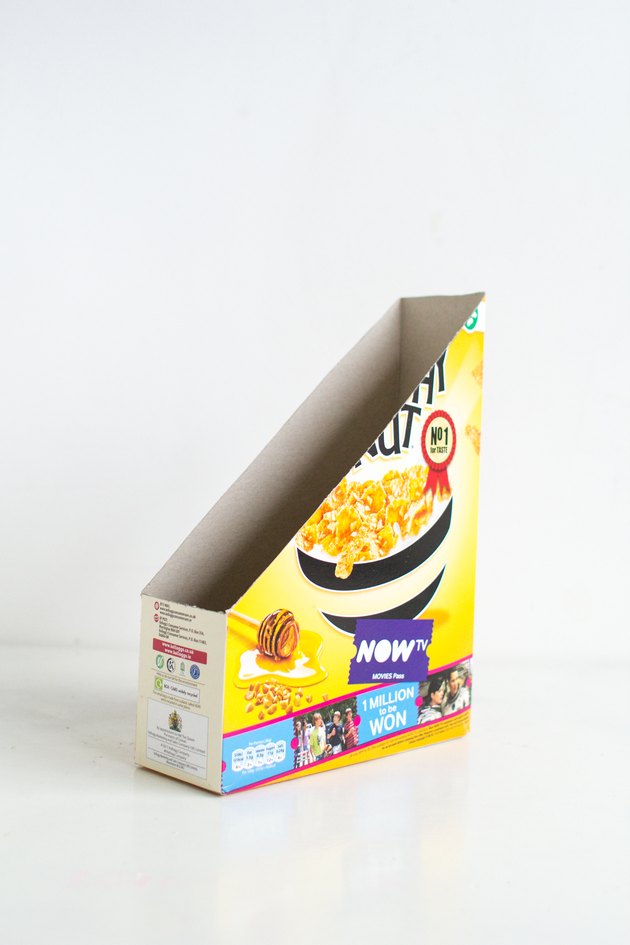
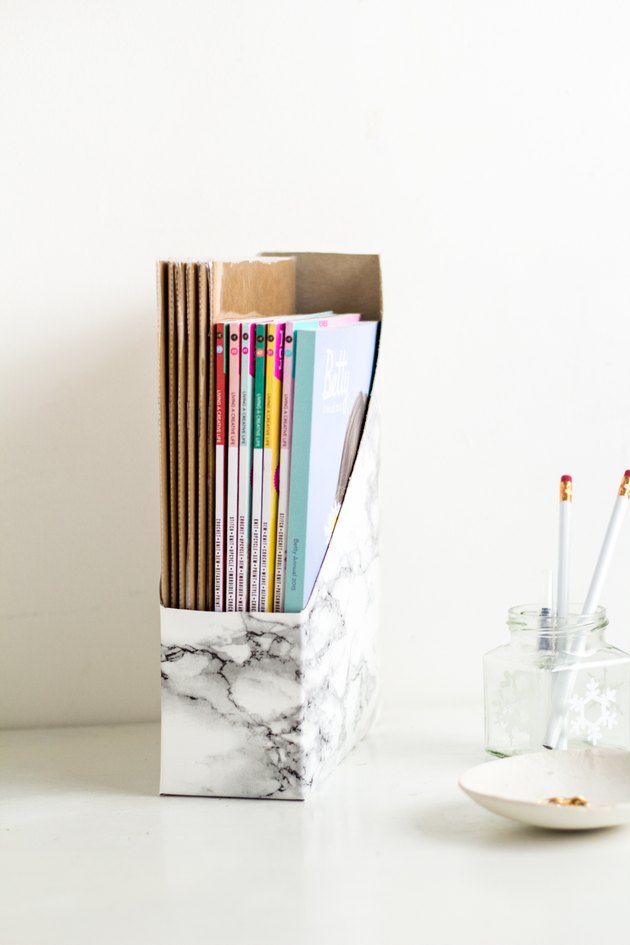
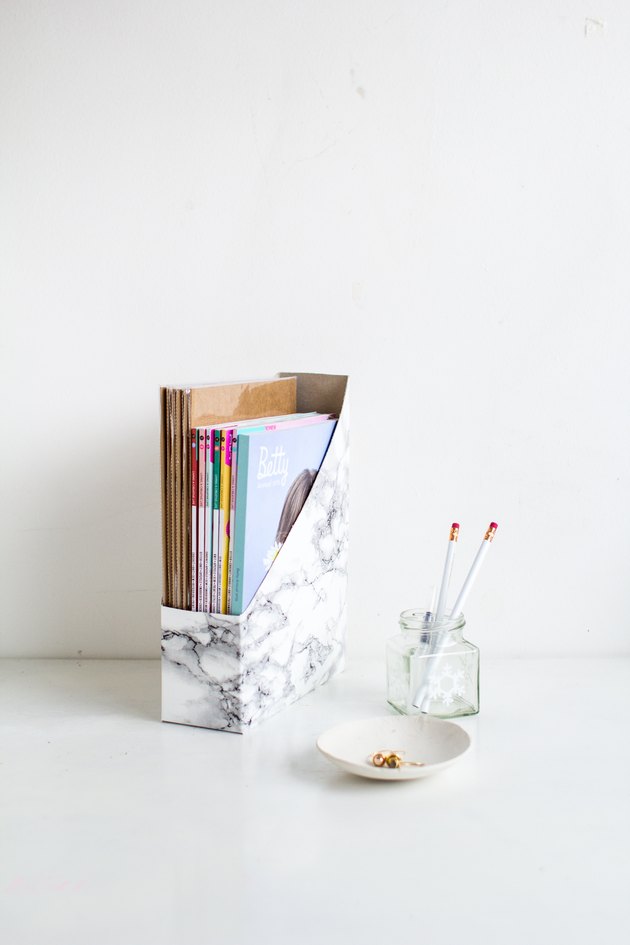
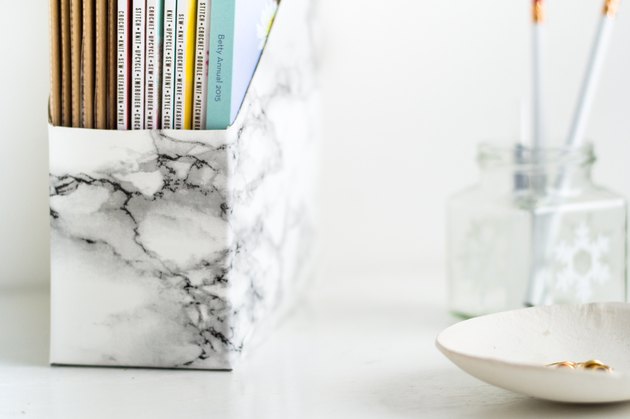
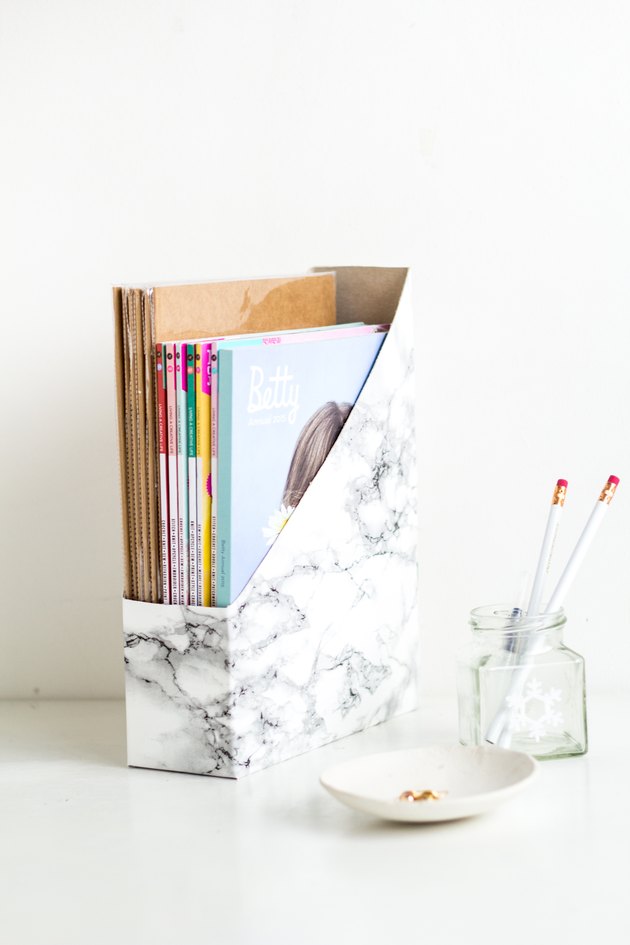
A great way organize loose papers, magazines, and notebooks is in these desk magazine holders. If your magazines are beautiful and colorful, you can display them with the holder turned to show them off. Alternatively, if you're trying to hide away papers and notes, turning the box around will easily conceal them. Using this technique, you can create different colors and patterns easily, just like these marbled ones!
How to Make a Desk Magazine Holder
- Get link
- X
- Other Apps
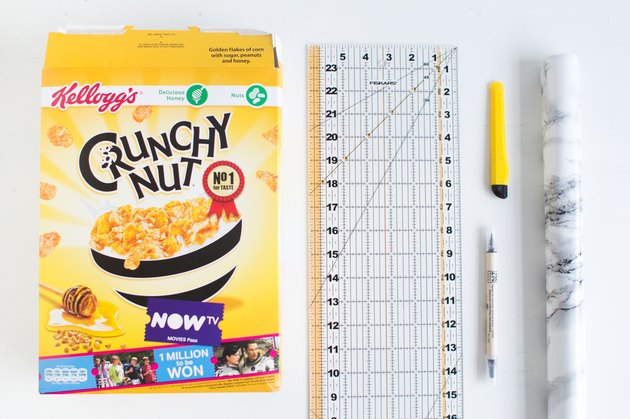
Things You'll Need
Cereal box
Ruler
Pen
Marbled contact paper
Craft knife
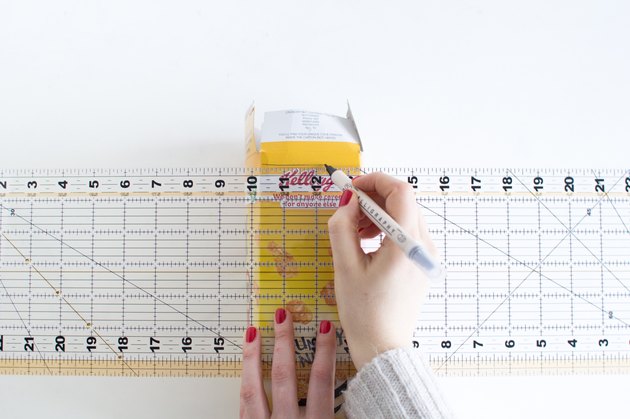
Step 1
Draw a line on one of the smaller sides of the box around half an inch from the top.
Step 2
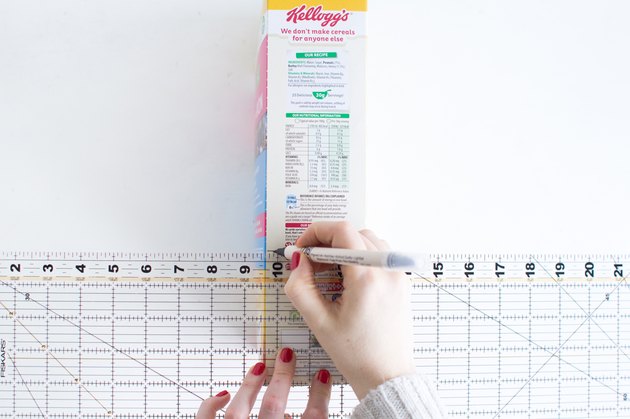
Turn the box over and on the opposite side draw a line across the width, 4 inches from the bottom of the box.
Step 3
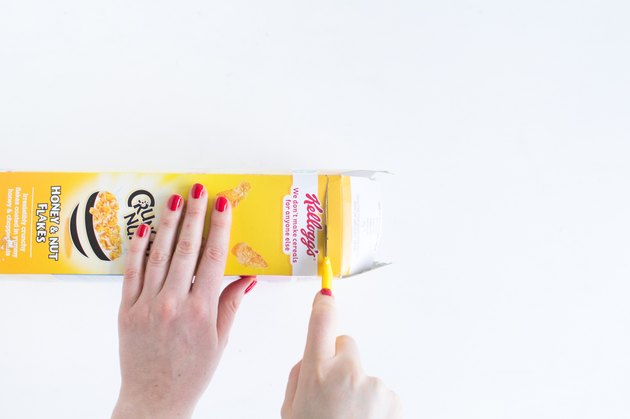
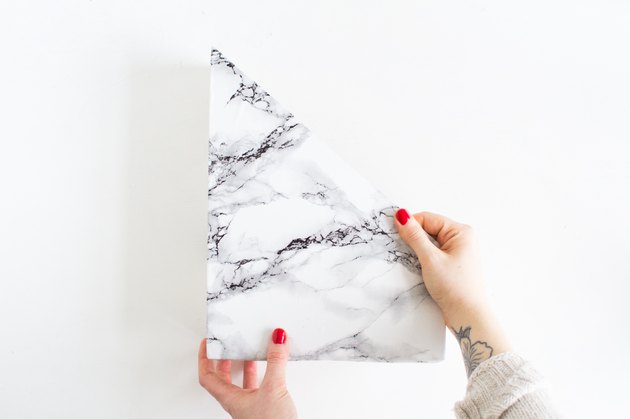
On both the front and the back of the box, draw a diagonal line from the lower to the higher line. Now just cut along all of the lines with the craft knife.
Step 4
Roll out the marbled contact paper and use heavy objects to hold it out down flat. Place the box down on the gridded side of the paper. Leave about 2 inches at the bottom of the box and cut along the paper at the top point of the box. Make sure you cut a length long enough to go around the entire box.
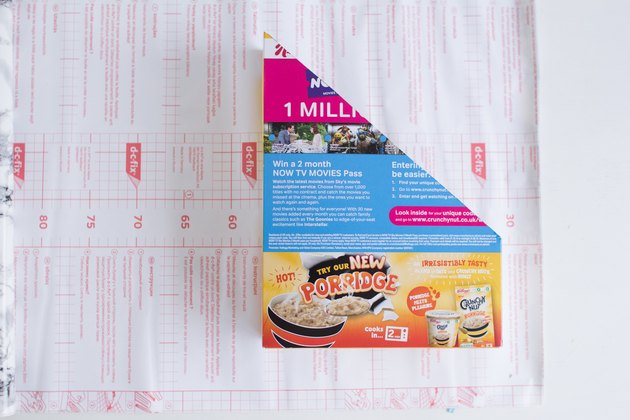
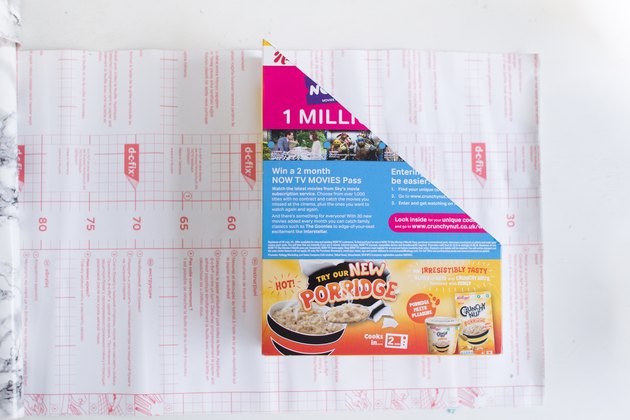
Step 5
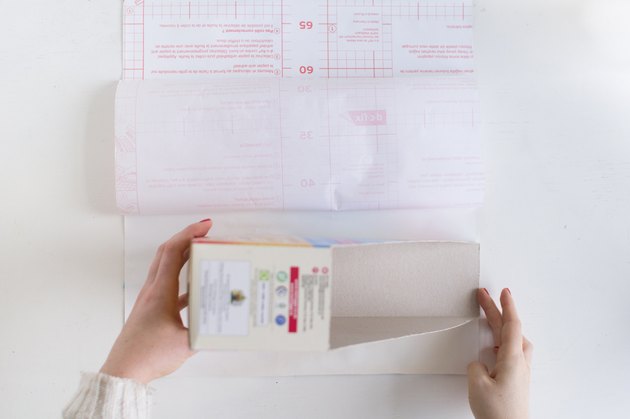
Peel back 5–6 inches of the backing paper from the edge. You want some overlap where the start and end meet, so line up the top edge of the box 1 or 2 inches from the end of the paper and press down into place.
Step 6
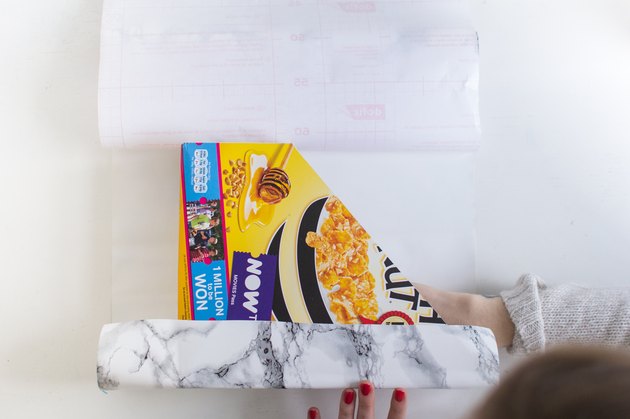
Fold the smaller side up and press against the box. Slowly peel back the backing from the rest of the contact paper, pressing the sides against the paper as you go.
Step 7
When you reach the corner at which you started, cut the excess neatly along the crease.
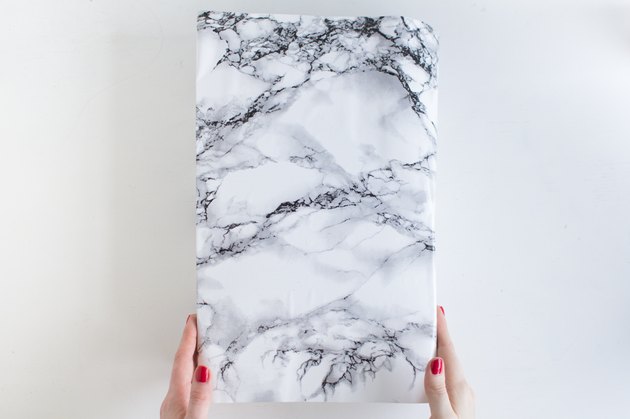
Step 8
Where the contact paper hangs over the bottom of the box, fold the smaller sides in, pressing them against the cardboard.
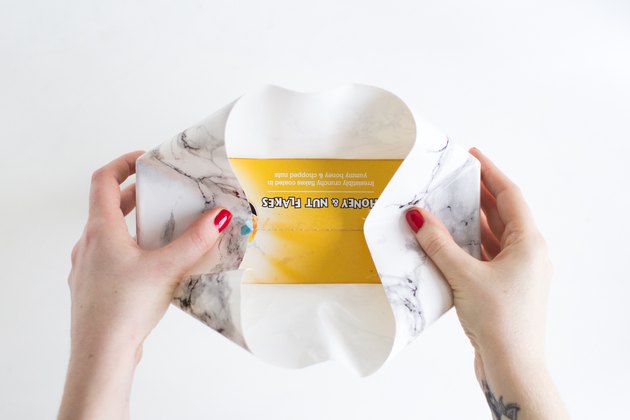
Step 9
Fold down and press the other two sides into place to create a neat underneath.
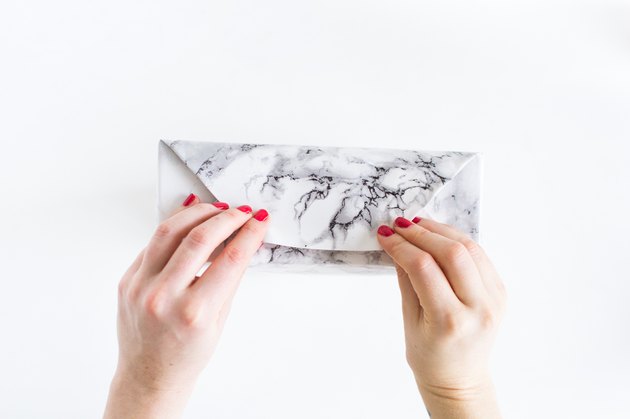
Step 10
Use the craft knife to cut off the excess paper from the rest of the box.
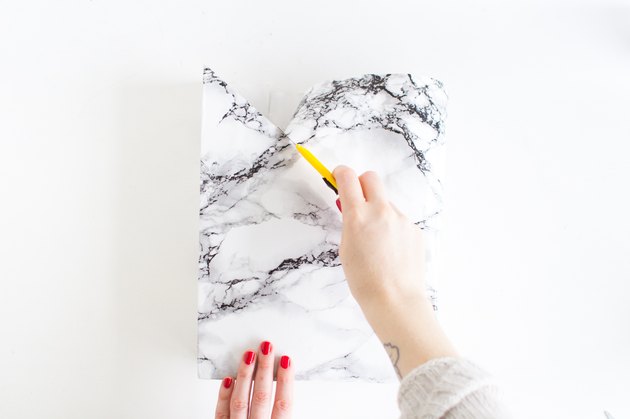
Step 11
Press out any air bubbles with your thumb, and your magazine holder is ready!
- Get link
- X
- Other Apps
